


Andrey Kiselev – stock.adobe.com
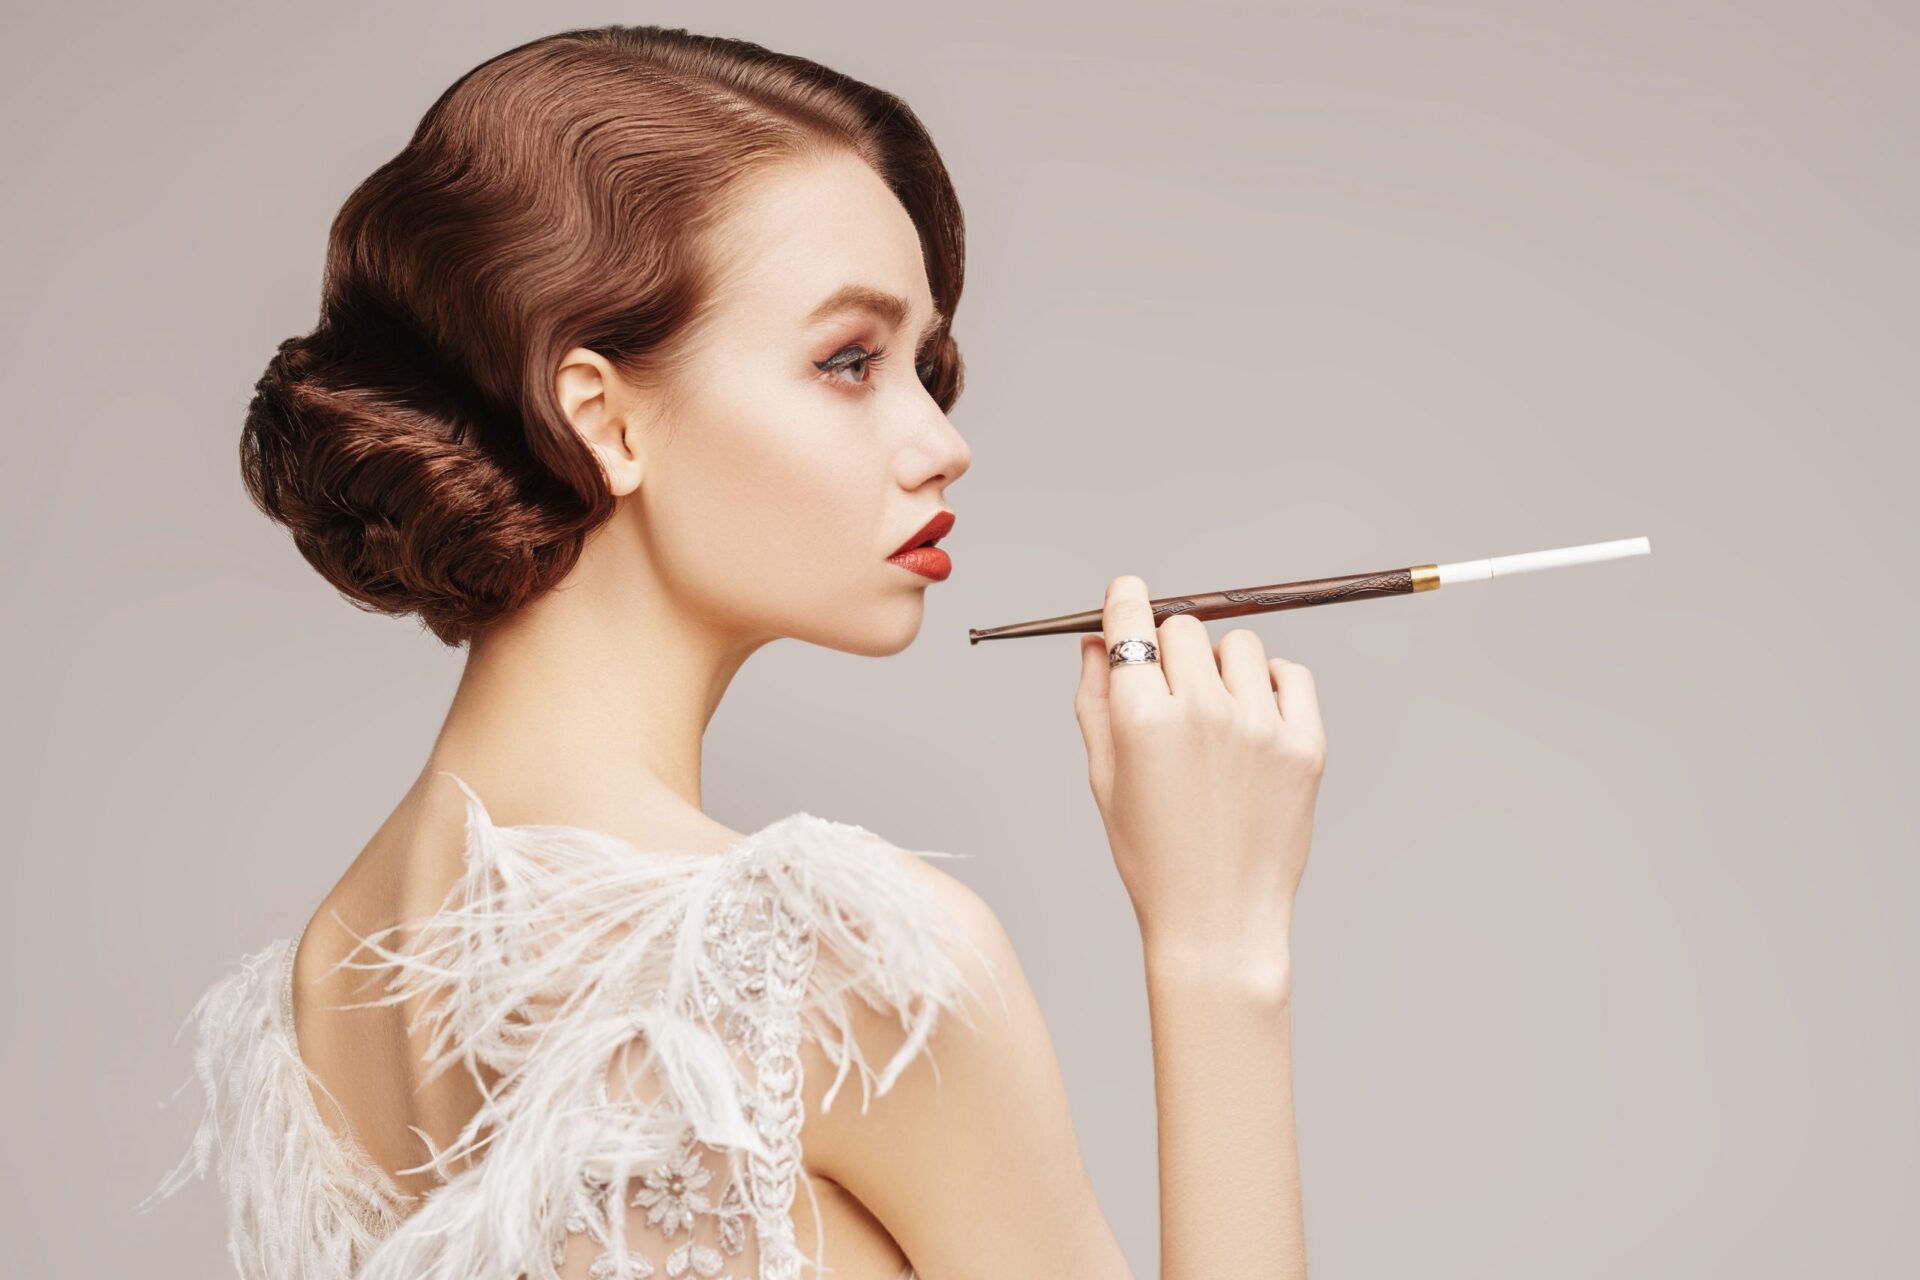
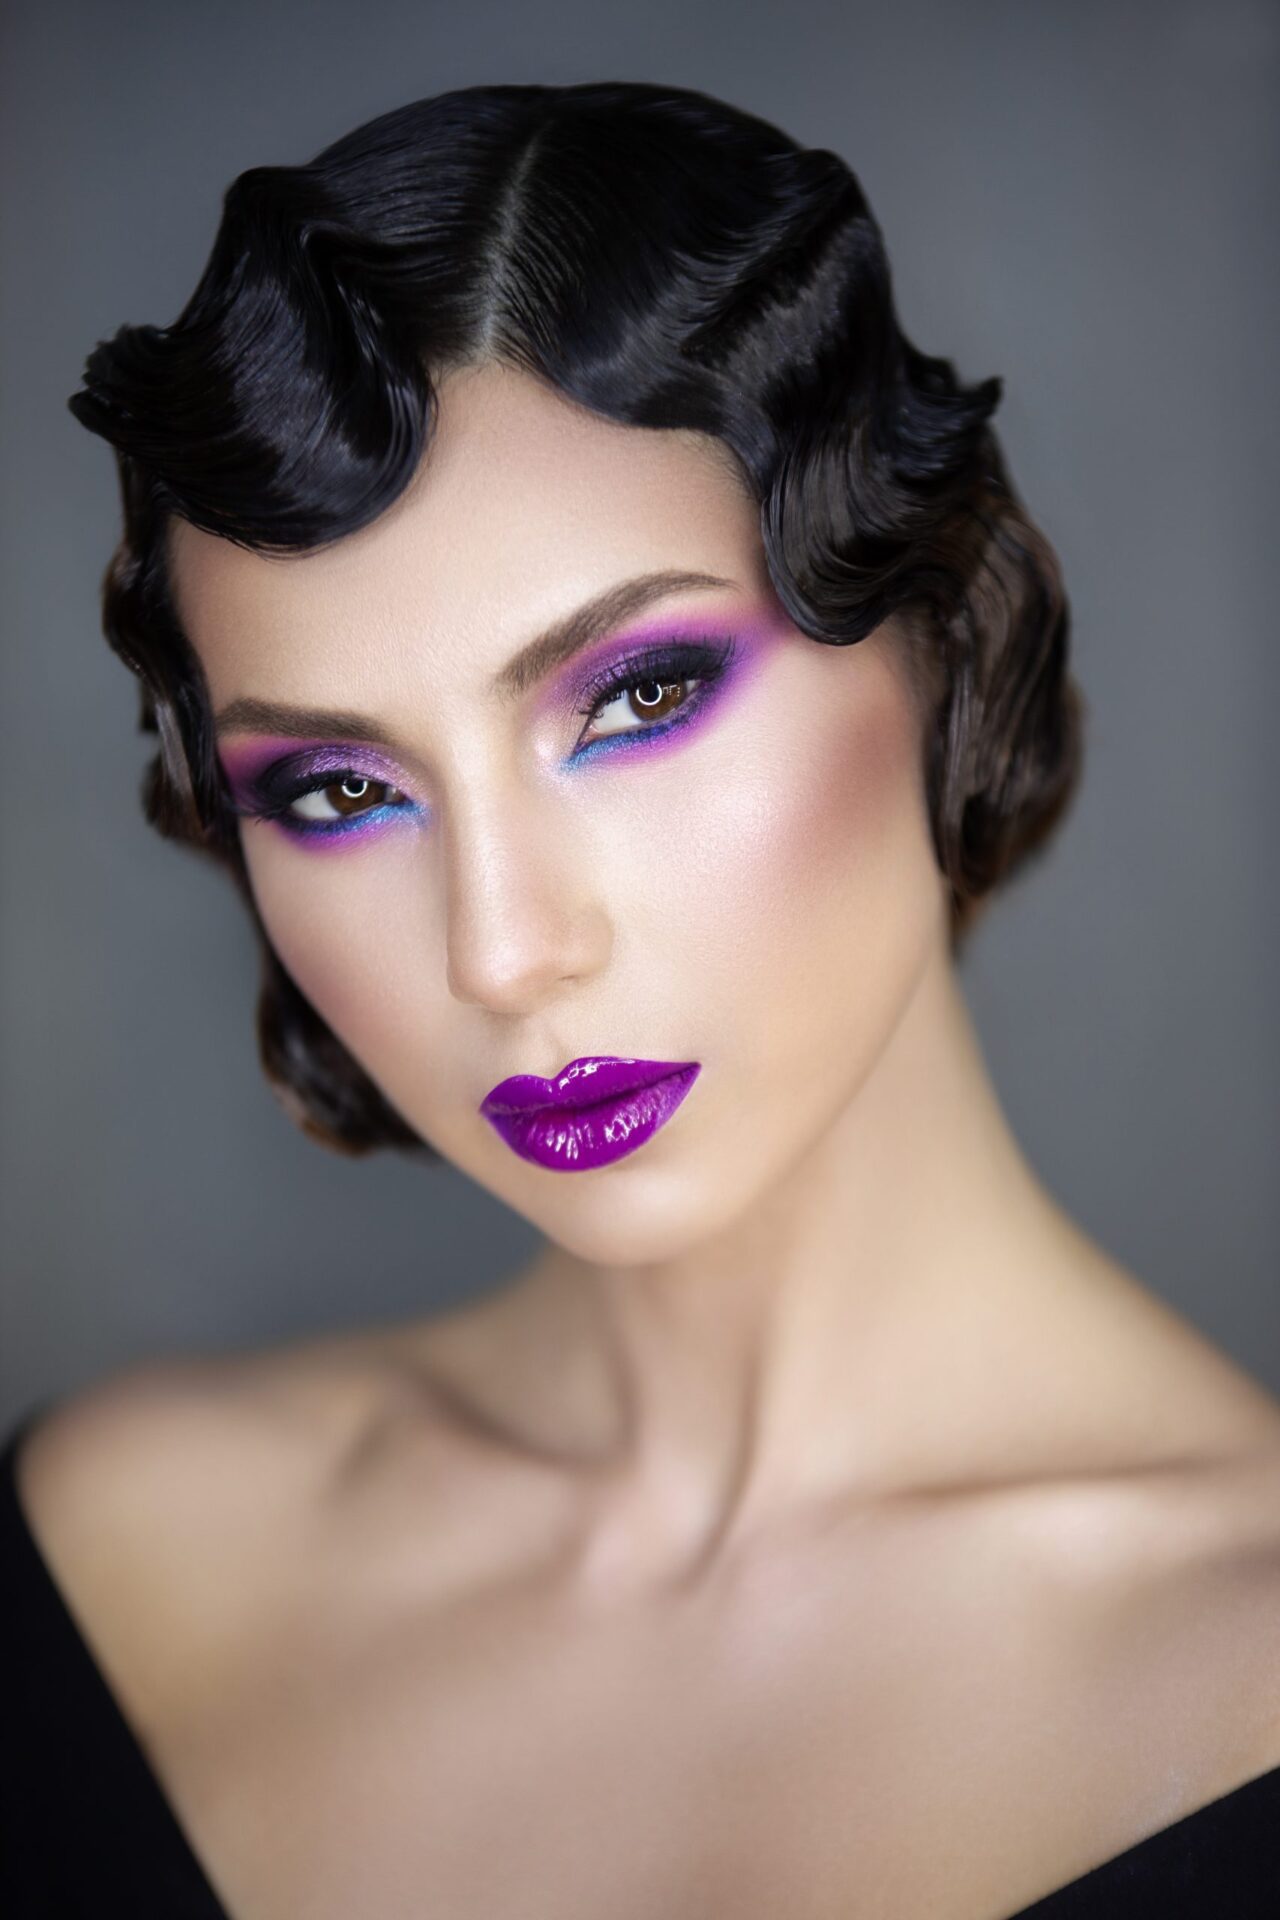
It’s funny how retro styles come back as trendy new looks decades later. It’s 2025, and in recent years celebrities like Zendaya, Rihanna, Yara Shahidi and Beyoncé have brought back finger waves. Finger waves were first popular in the 1920s and have a reputation for being difficult to create for even the most experienced hair stylists.
Finger waves, a 1920s hairstyle now popularized again by celebrities like Zendaya and Rihanna, create sleek “S-shaped” waves against the scalp. The style requires wet hair, mousse, gel, and comb shaping, then setting under heat for hold. Known for sophistication and multi-day wear, finger waves remain a signature look for both retro and modern occasions.
What Are Finger Waves?
Finger waves are a hairstyle that is currently most popular among Black and Brown women. It involves shaping the hair into flat “S-shaped” waves, most often against the scalp. These waves create a sophisticated and dynamic look that can elevate even the most casual outfit. People can often wear them for multiple days without restyling, as long as they are properly maintained with a satin scarf or bonnet. Let’s break down this style into a few easy steps so even beginner stylists can master it.
nikitaat – stock.adobe.com
How to Make Finger Waves?
1. Wet Your Hair
Creating perfectly smooth finger waves in hair takes skill, patience, and a lot of water and hair products. Simply put, finger waves are best placed in freshly washed hair. The water saturation from a fresh wash helps you to manipulate the hair more easily. Don’t be afraid to add more water if you notice the hair drying out—your hair will be easier to style!
2. Use Appropriate Products
After fully saturating the hair with water, you will need to apply a combination of mousse and hair gel. Make sure your mousse and hair gel work well together; there’s nothing worse than combining two hair products that create flakes when you mix them together. Once you’re sure you have compatible products, don’t be afraid to apply them liberally. The mousse serves to moisturize your hair and develop a soft hold, while the gel does more of the heavy duty holding to keep the style in place.
3. Part Your Hair
Now that you’ve applied the appropriate products, it’s time to install the finger waves. You’ll need a fine toothed rattail comb to shape the hair into perfect waves. Before you start, make sure you choose where to part your hair. Most classic finger wave styles have a side part. After parting the hair, you’re ready to start placing finger waves.
4. Style Your Hair
Place your finger on the hair right near the part. In a continuous motion, use the rattail comb to pull the hair forward and then back, creating a wave or “C shape. Continue styling the hair by moving your finger to hold this wave in place while you move down the hair to place a wave in the opposite direction. This hair should resemble an “S” shape. Repeat this process until you have created as many finger waves as you want, then carefully place duckbill clips between waves to hold the hair in place.
5. Use Heat To Set The Style
Now that you’re done putting in finger waves, they need to be set. The client should sit under a hooded hair dryer set on high heat to dry the hair and successfully set the style. Once completely dried, the hair should be shiny and stay in place.
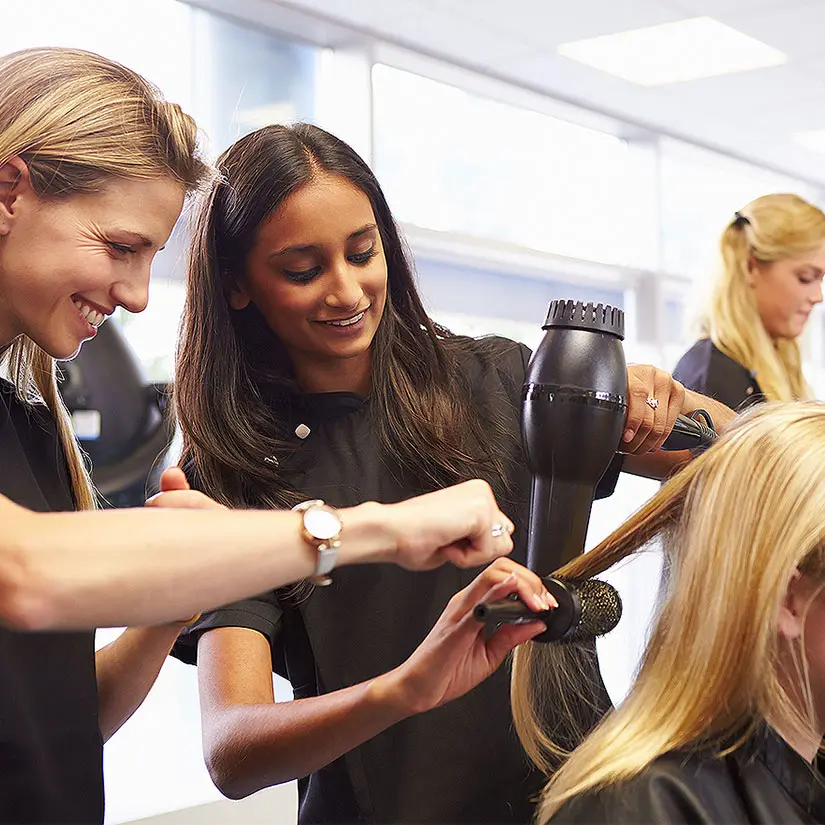
Become a Licensed Cosmetologist
Whether you’re styling finger waves for Halloween or for an elegant red carpet event, these straightforward steps will help you finish them with ease. If you’re interested in earning a cosmetology license to learn how to complete many other hair styles and services, inquire about Tricoci University of Beauty Culture’s cosmetology programs.
Esthetician School Campuses
- Chicago Metro Esthetician School
- Bridgeview Esthetician School
- Norwood Park Esthetician School
- Rogers Park Esthetician School
- Glendale Heights Esthetician School
- Elgin Esthetician School
- Libertyville Esthetician School
- Normal Esthetician School
- Peoria Esthetician School
- Rockford Esthetician School
- Urbana Esthetician School
- Bloomington Esthetician School
- Highland Esthetician School
- Indianapolis Esthetician School
- Lafayette Esthetician School
- Janesville Esthetician School
Cosmetology School Campuses
- Chicago Metro Cosmetology School
- Bridgeview Cosmetology School
- Norwood Park Cosmetology School
- Rogers Park Cosmetology School
- Glendale Heights Cosmetology School
- Elgin Cosmetology School
- Libertyville Cosmetology School
- Normal Cosmetology School
- Peoria Cosmetology School
- Rockford Cosmetology School
- Urbana Cosmetology School
- Bloomington Cosmetology School
- Highland Cosmetology School
- Indianapolis Cosmetology School
- Lafayette Cosmetology School
- Janesville Cosmetology School