By Trish Galbavy, Cosmetology Master Educator at Tricoci University
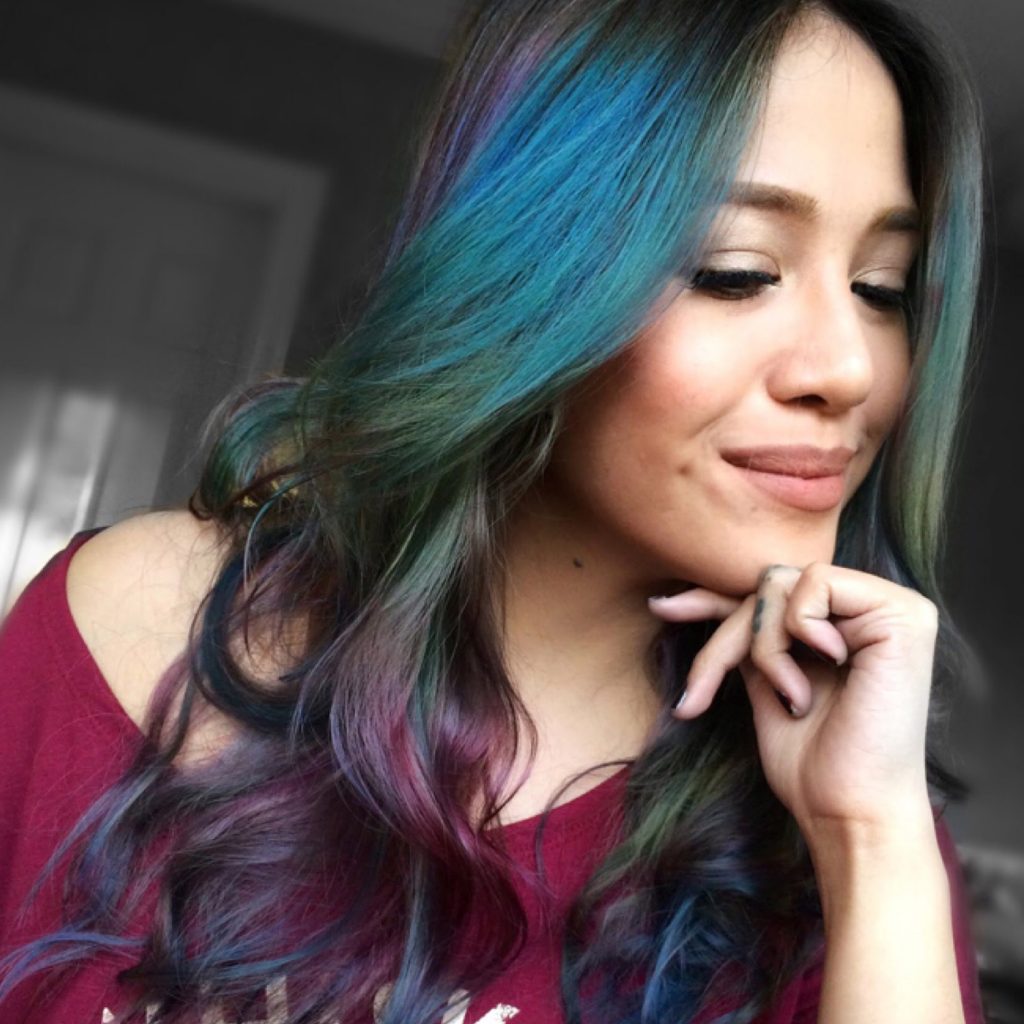
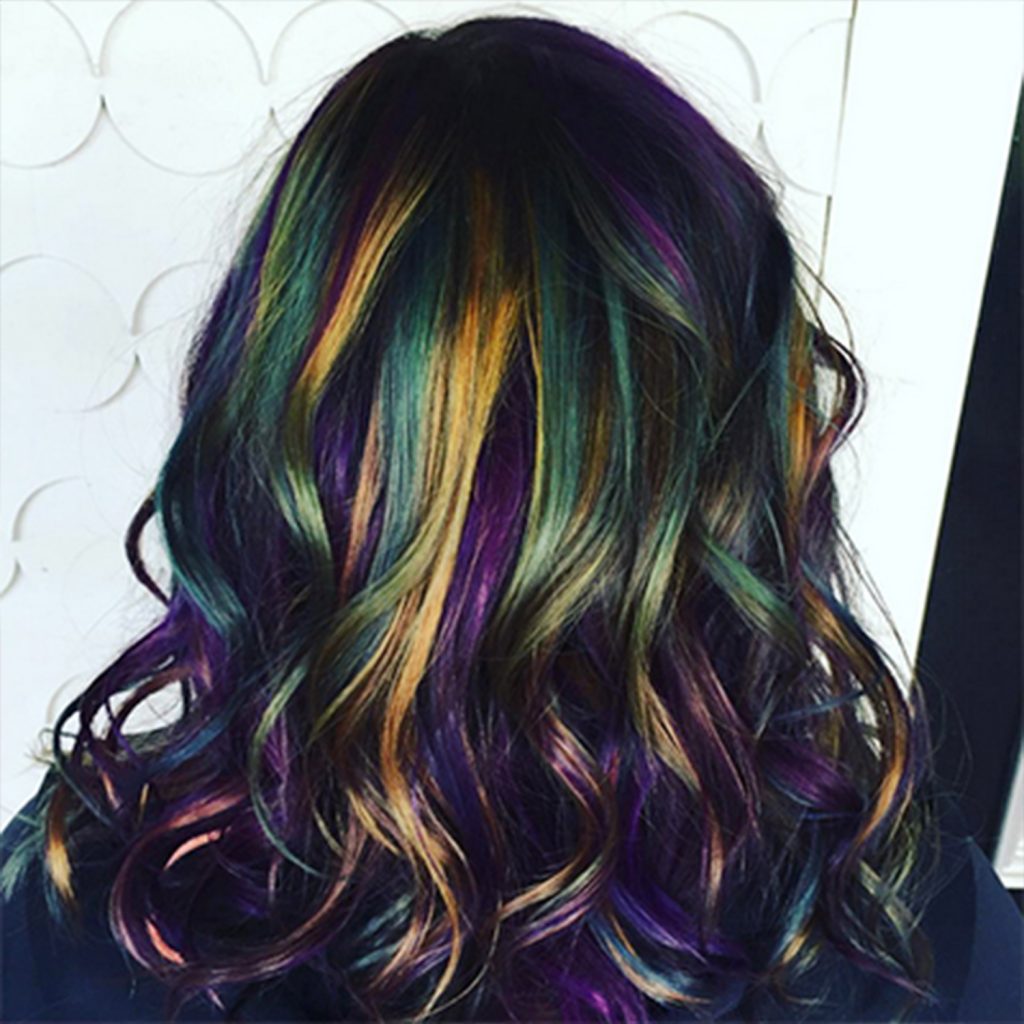
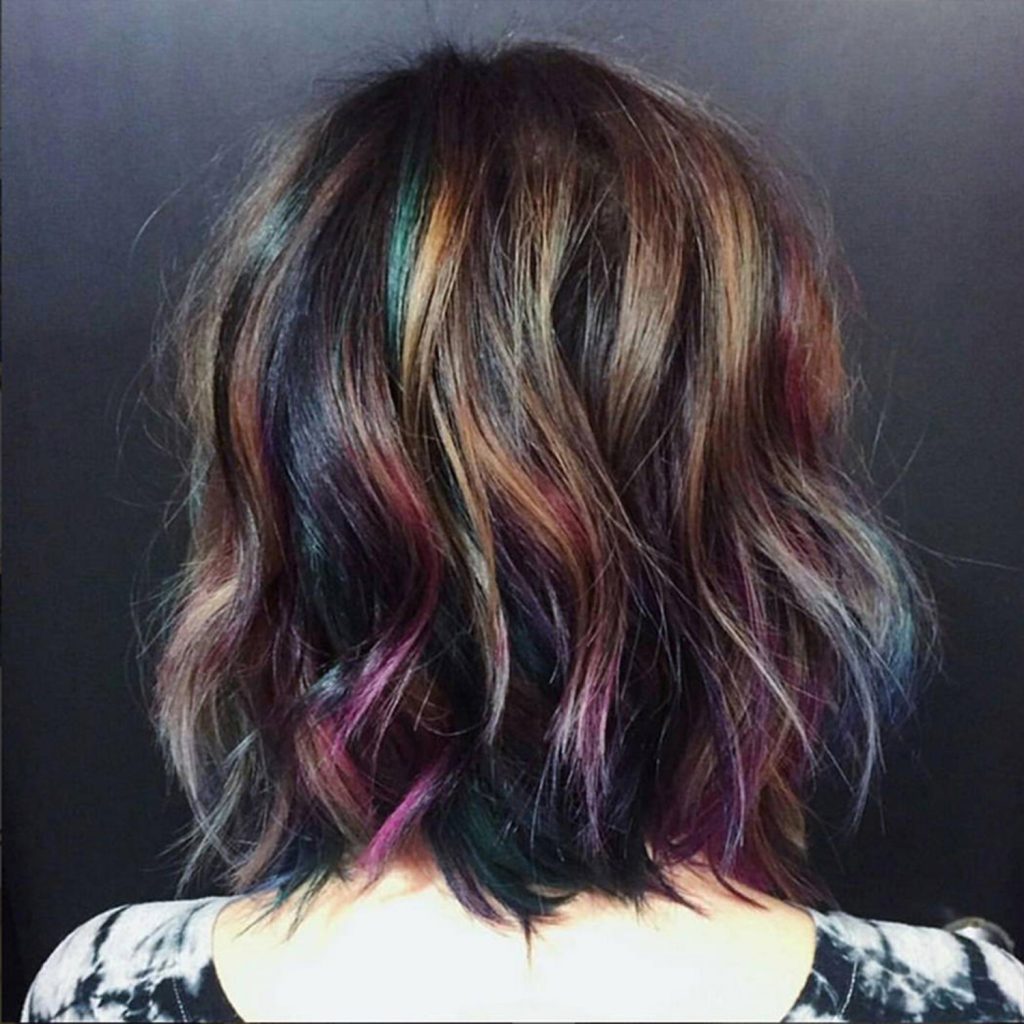
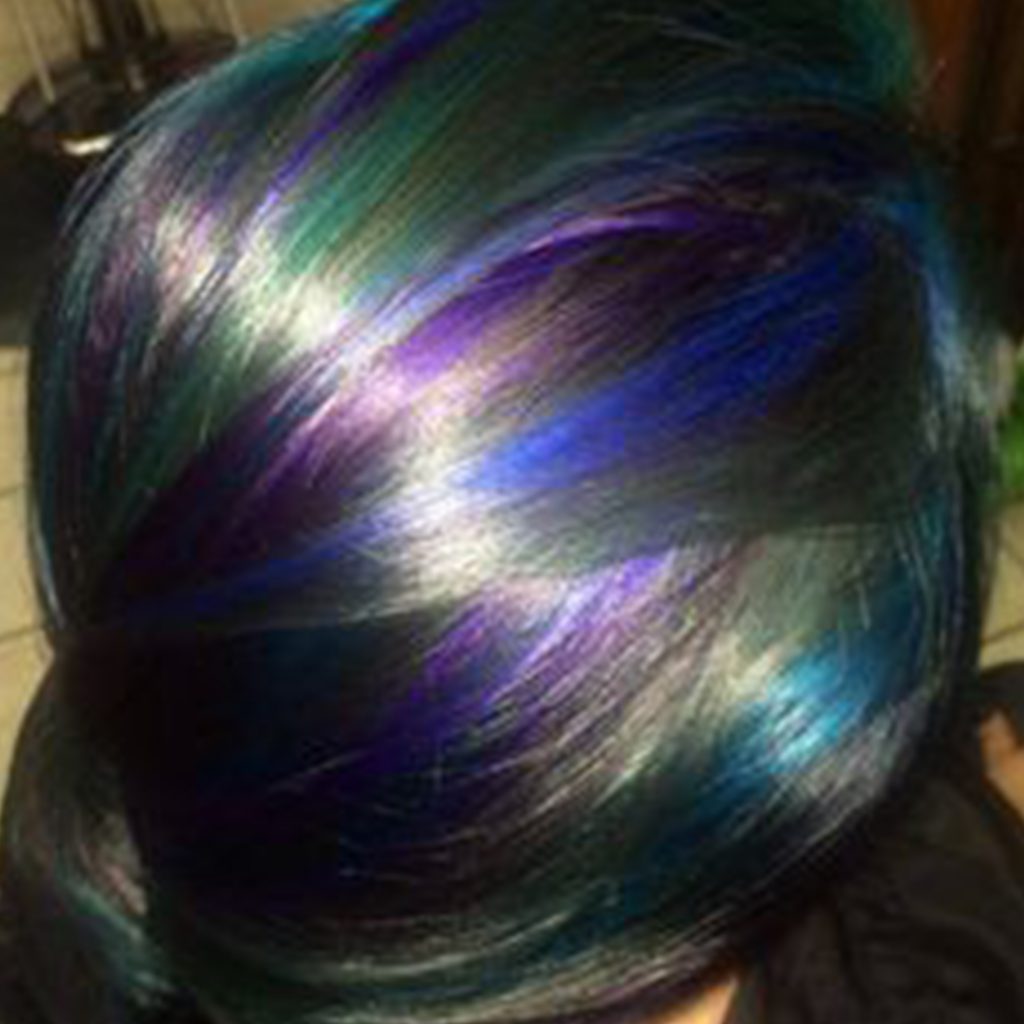
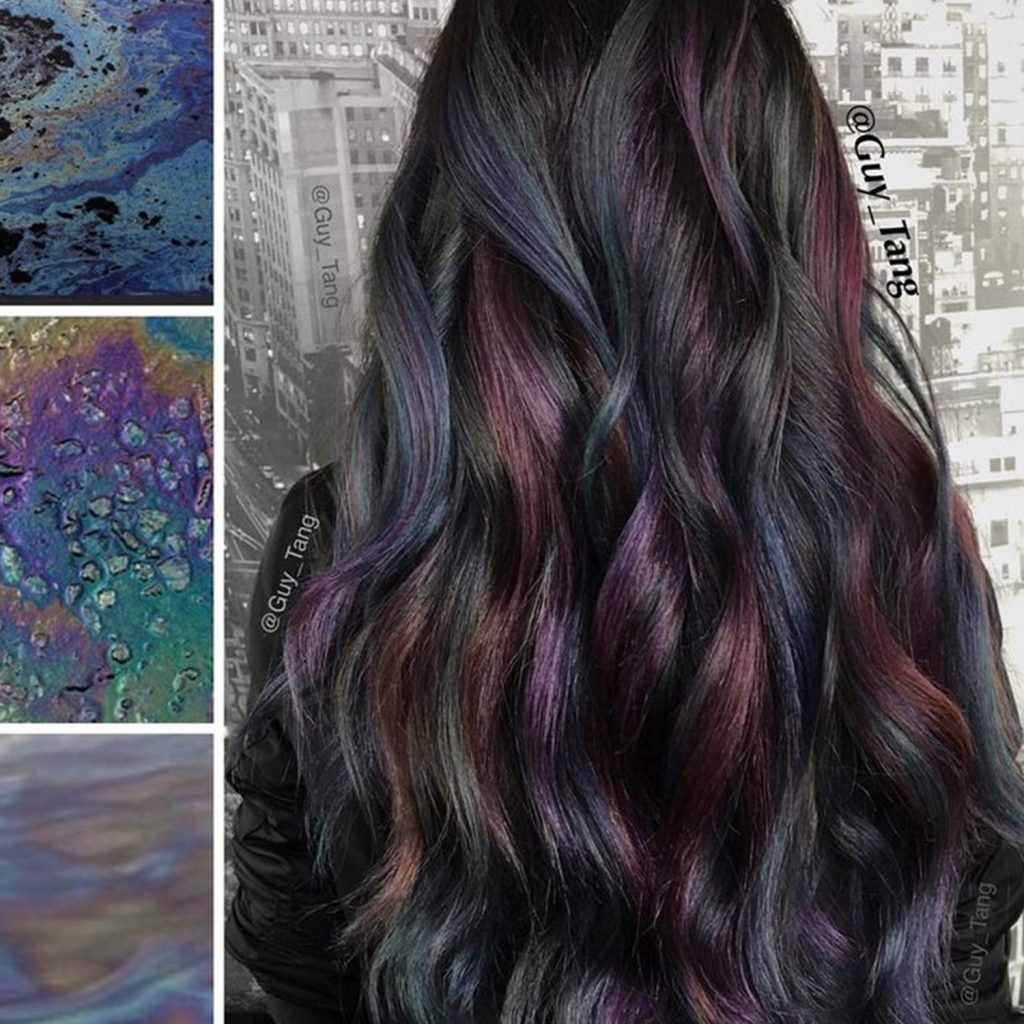
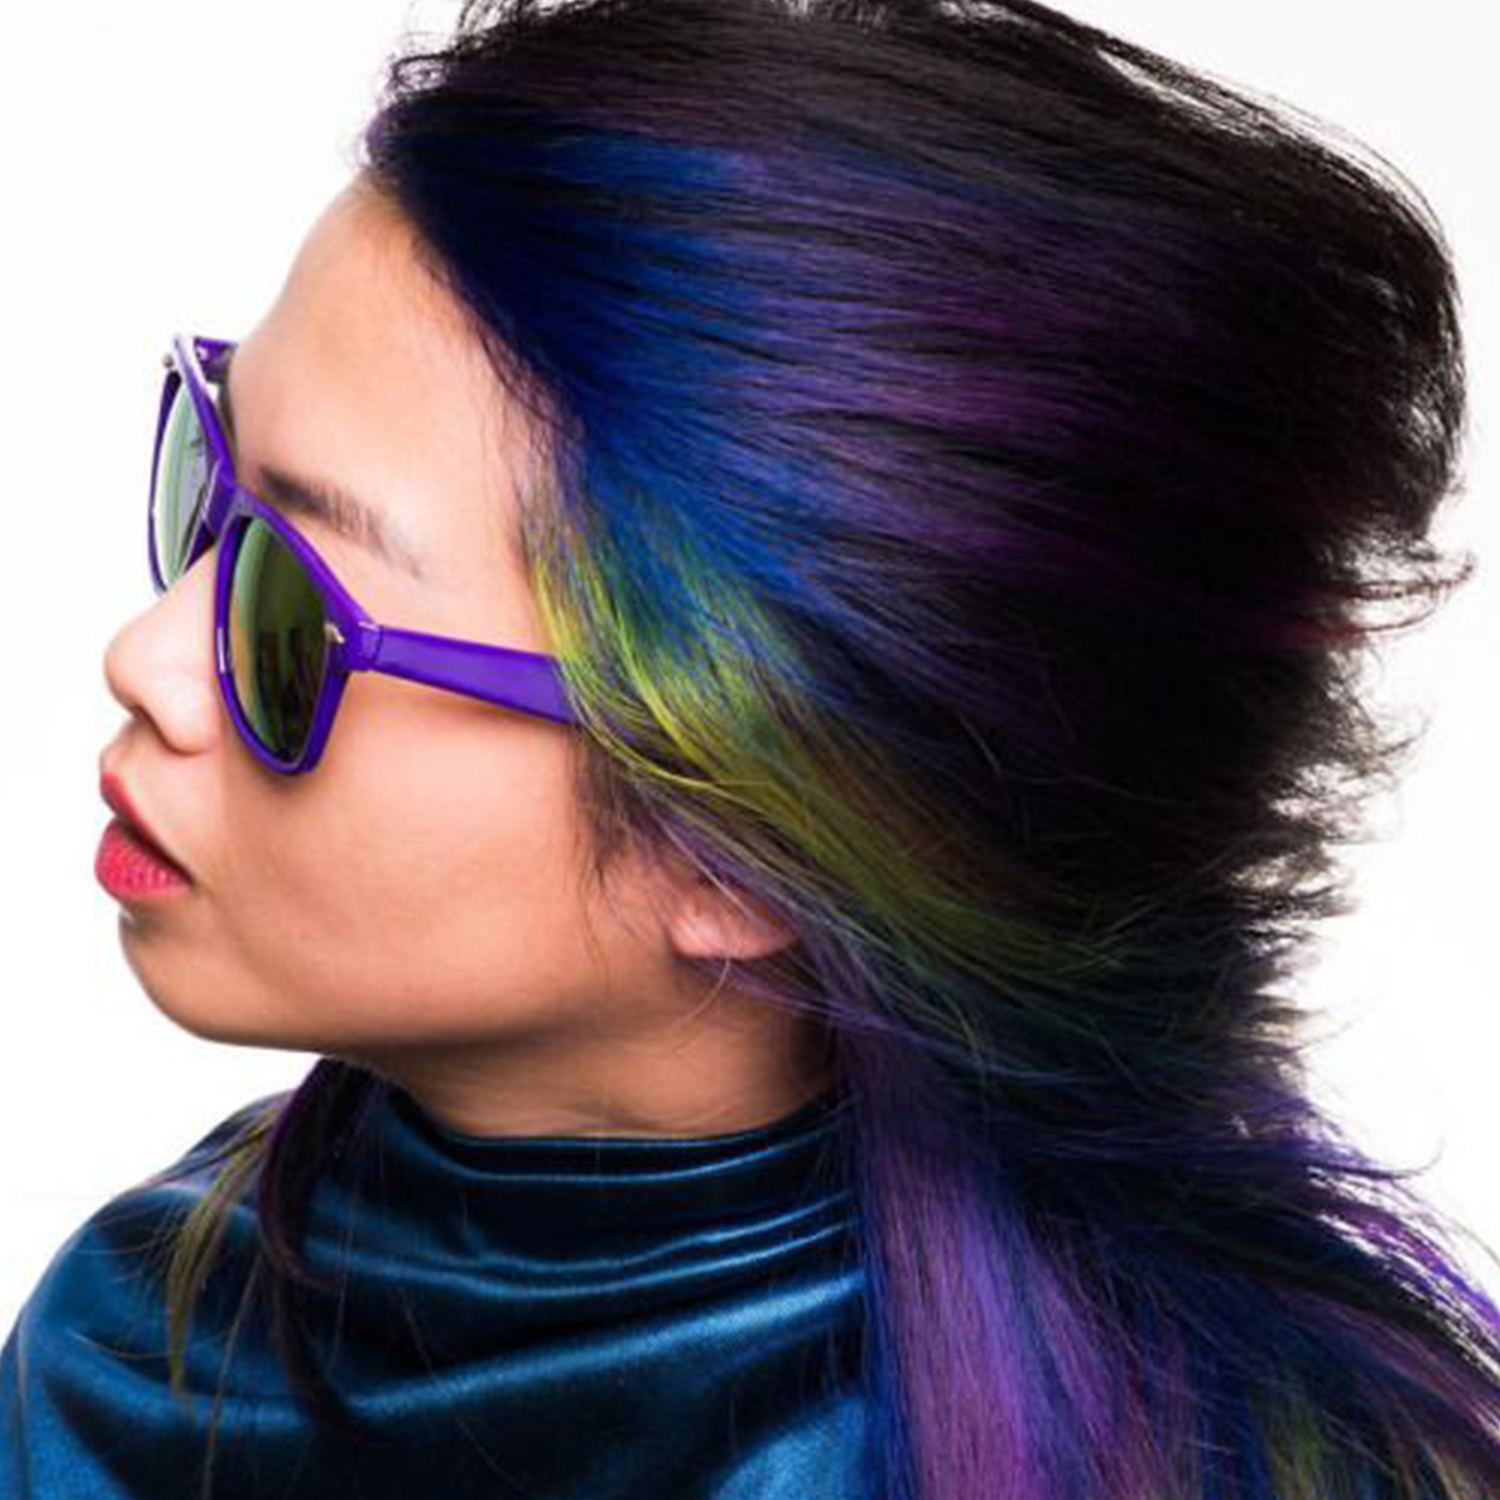
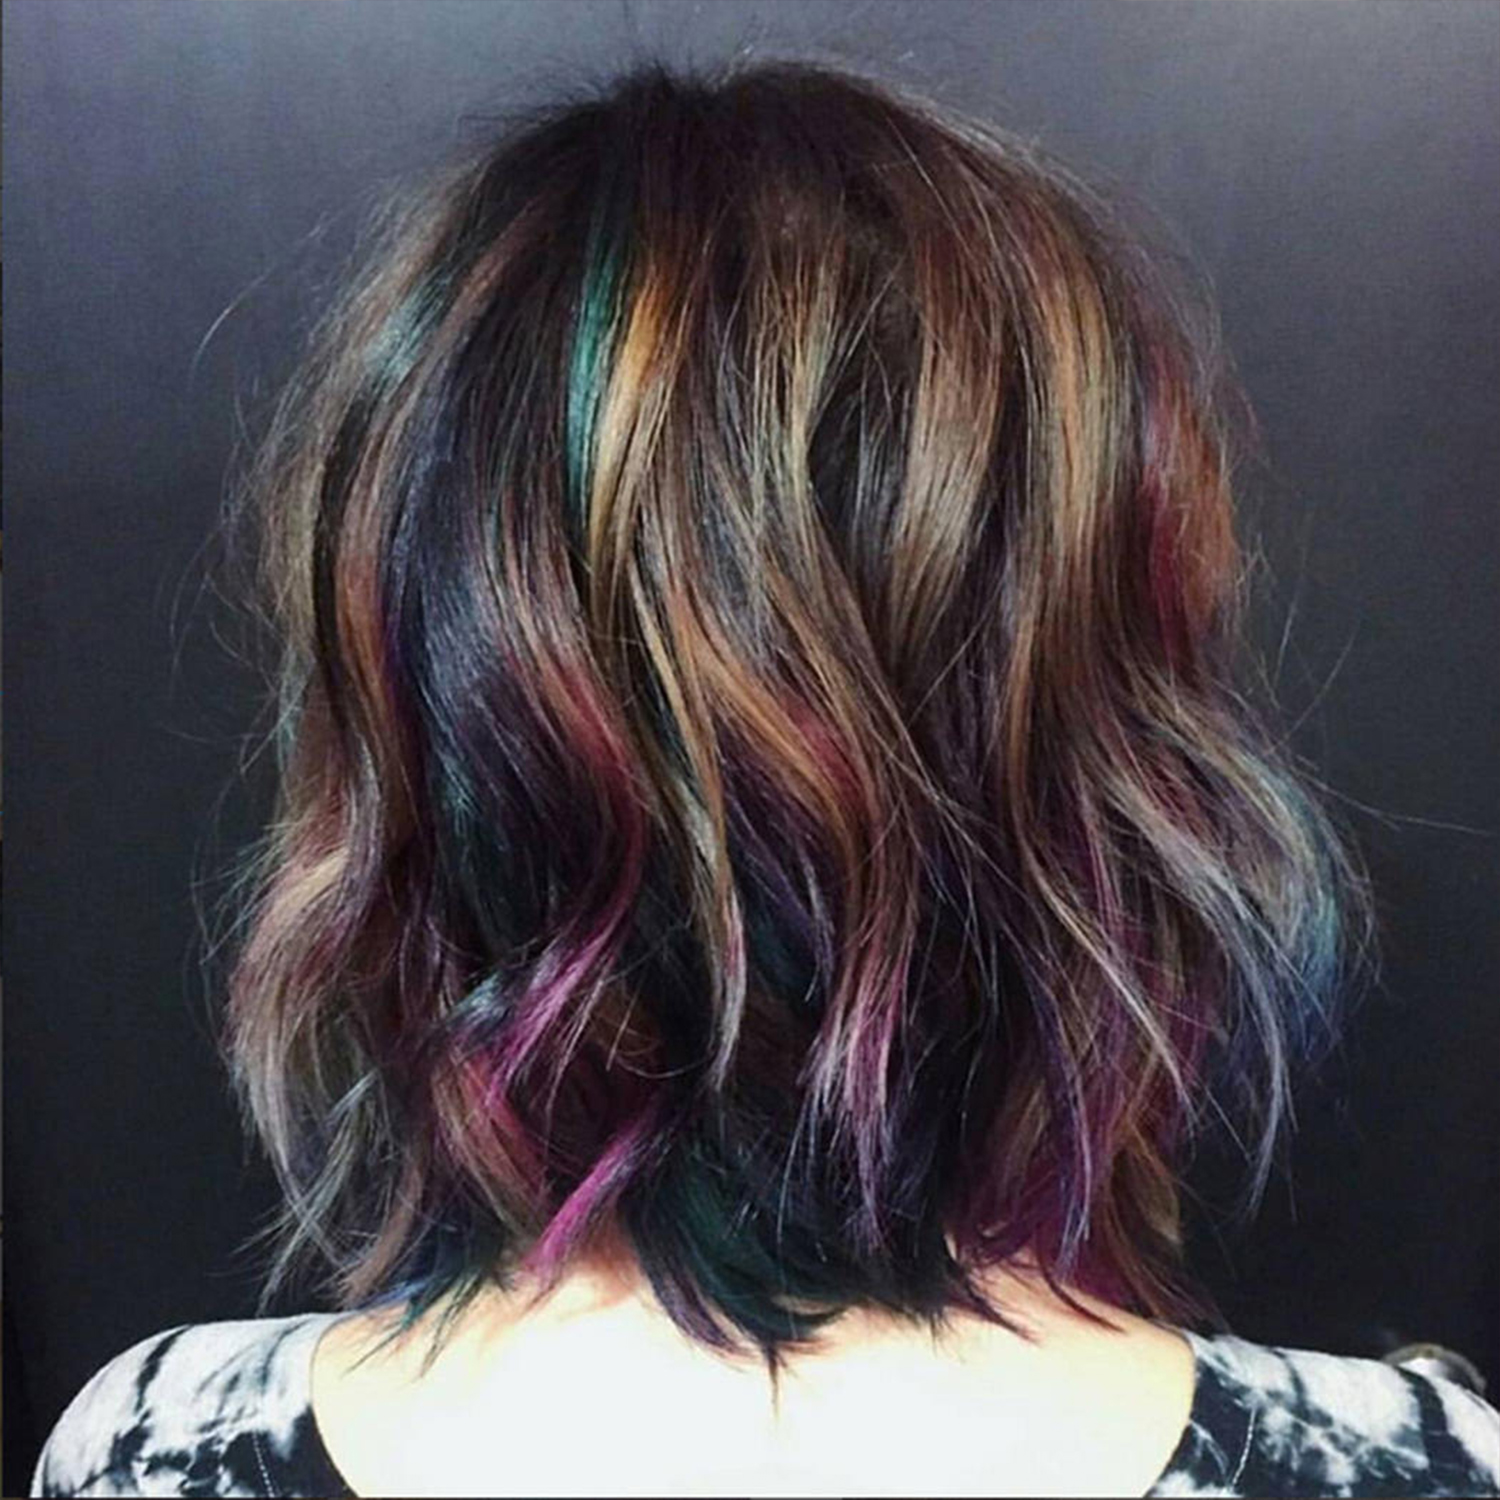
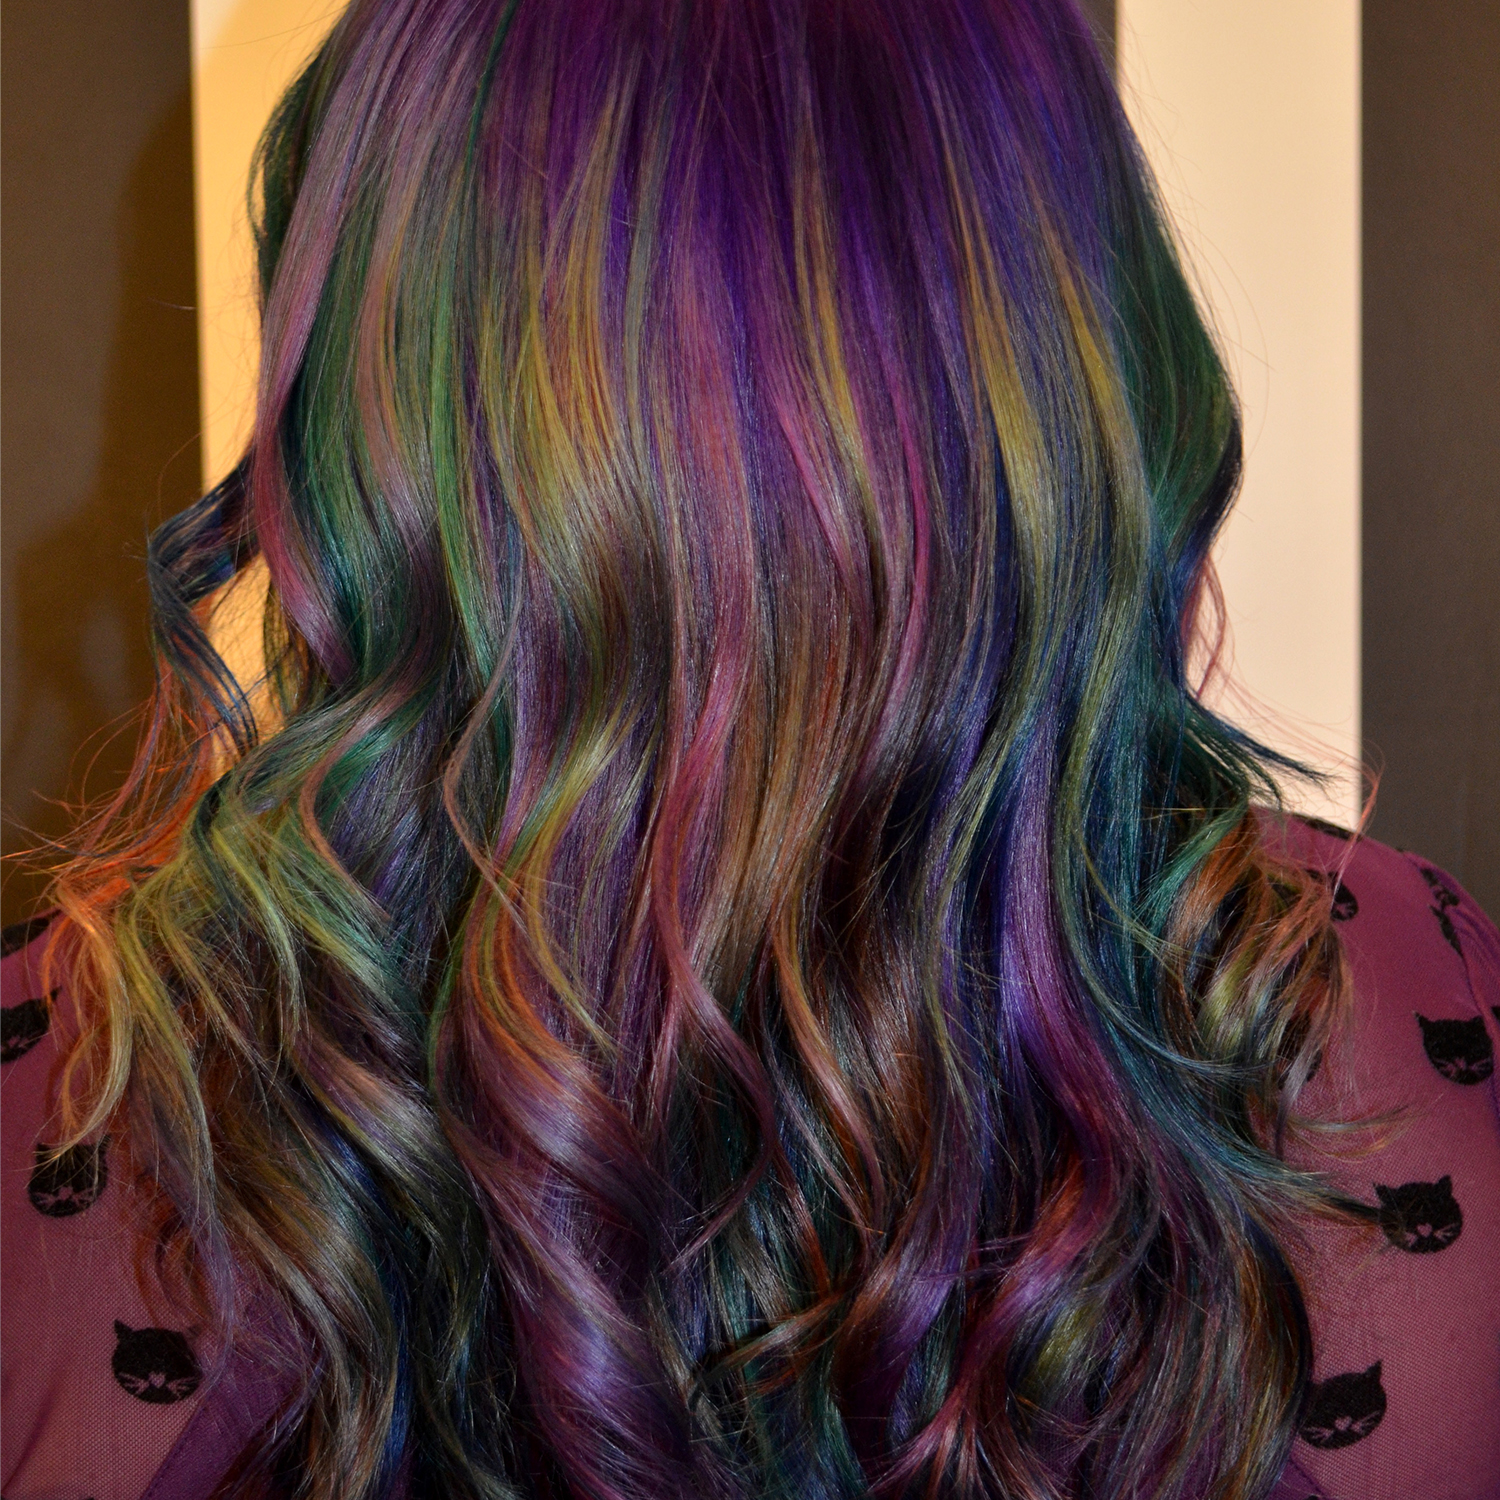
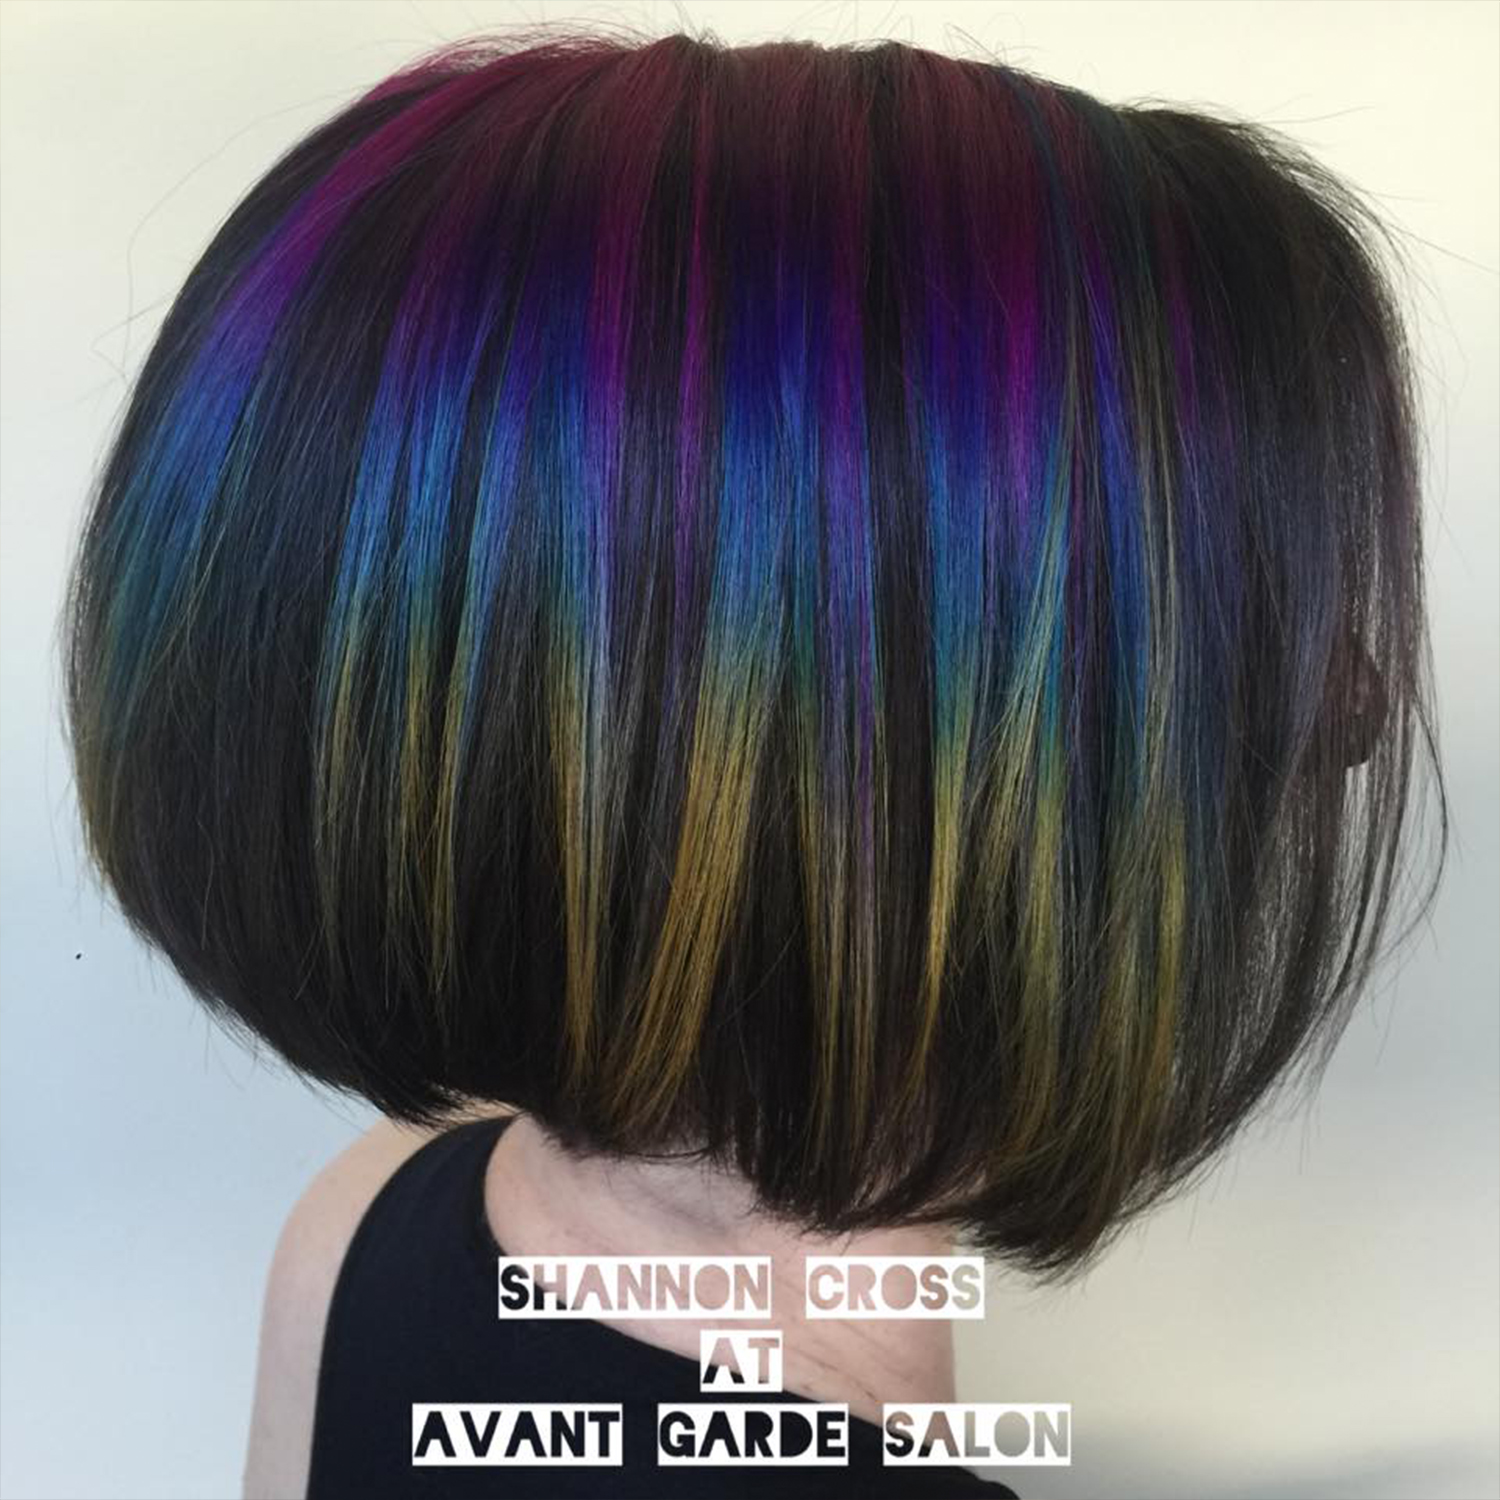
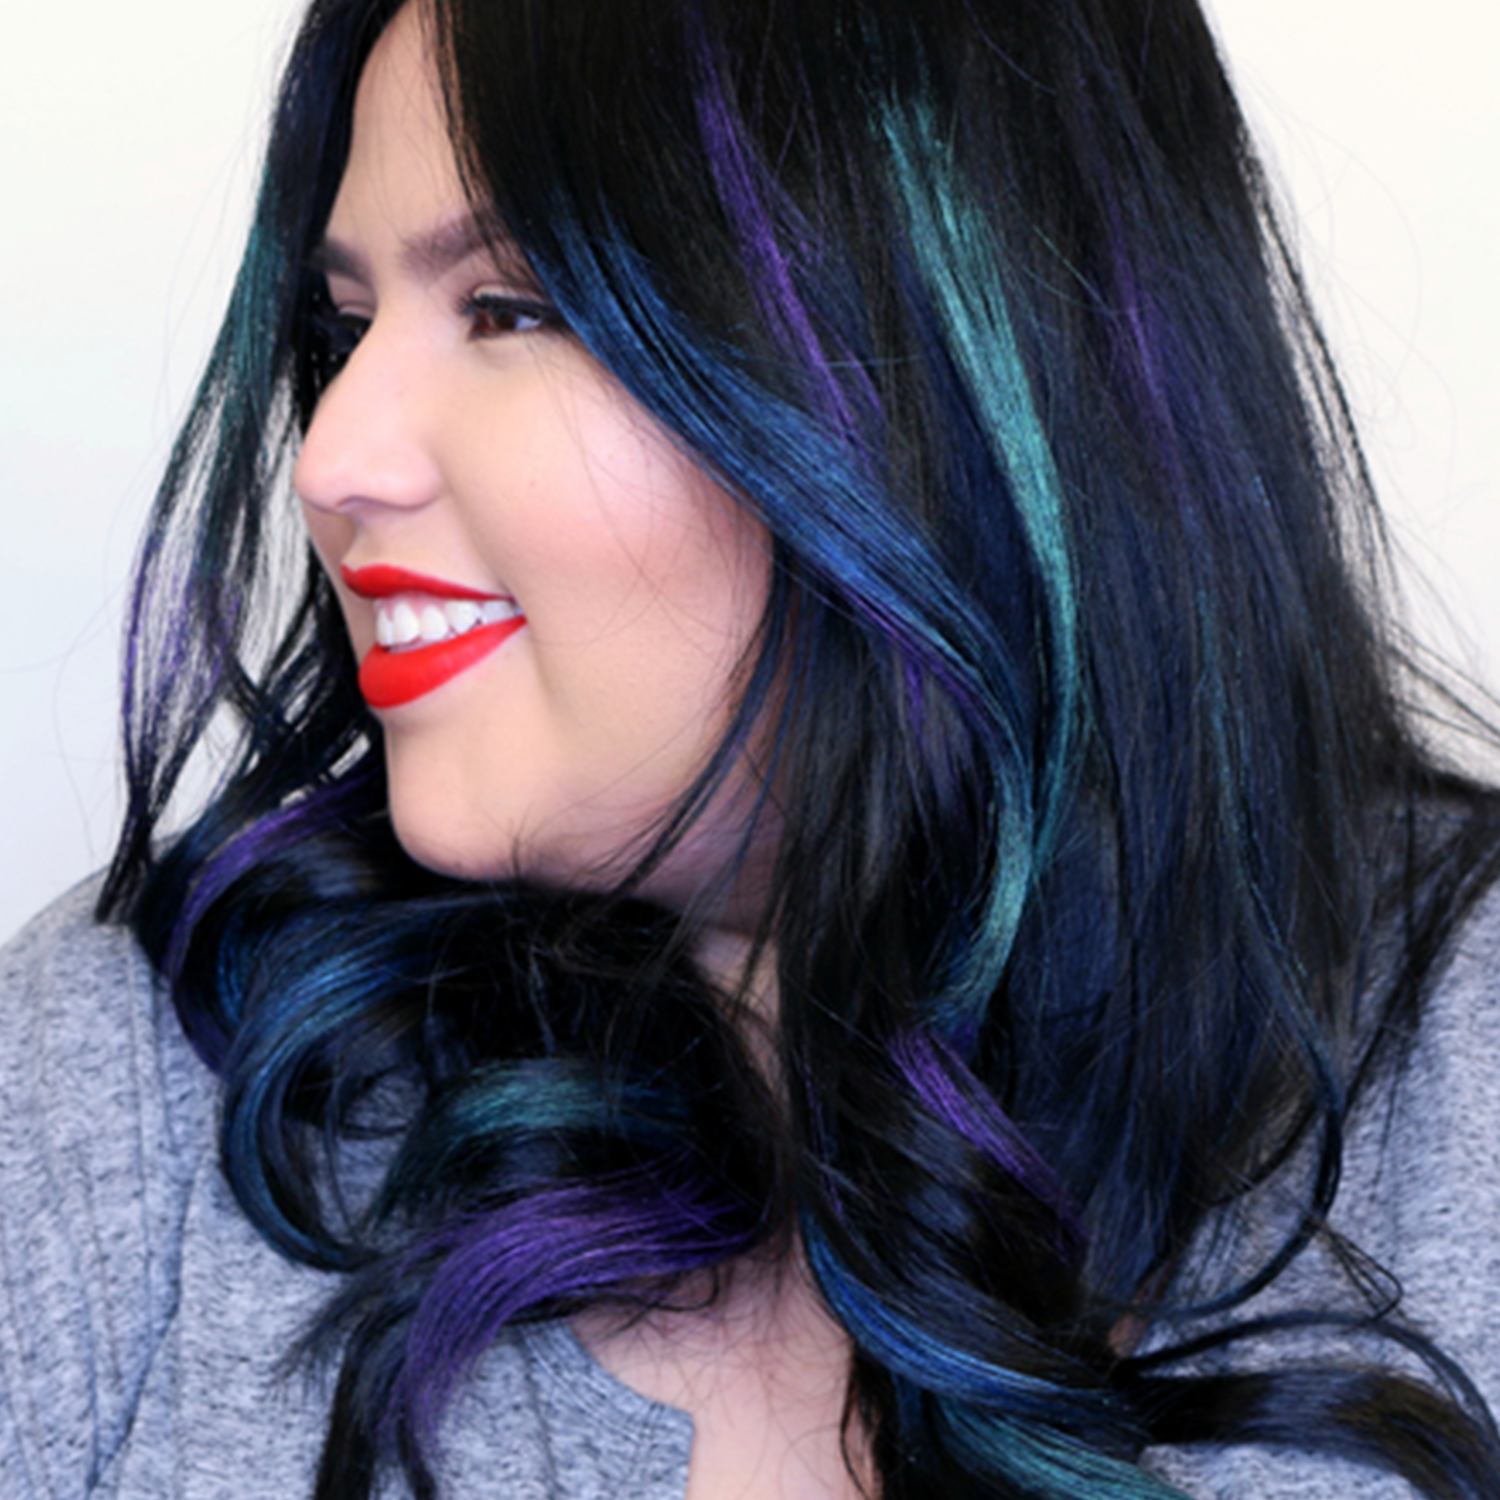
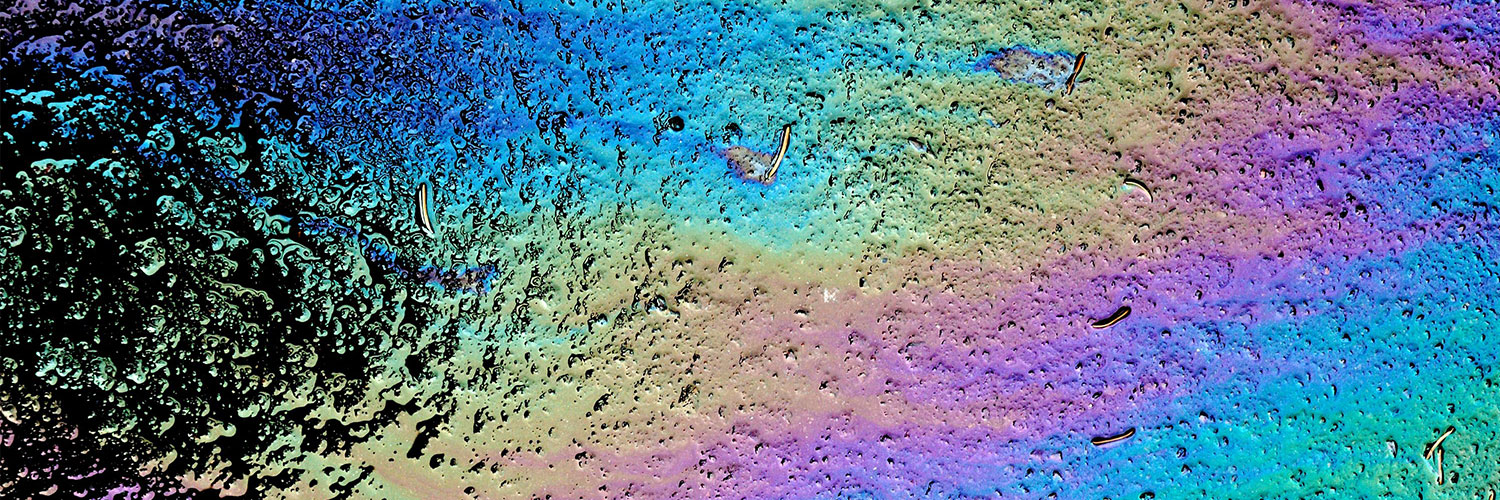
If you’re a brunette and want those fabulous, bright hair colors that everyone else has, oil slick hair is perfect for you. This coloring technique was originally created by celebrity colorist Aura Friedman of Sally Hershberger Salon by creating iridescent tone mixtures of purples and greens on top of hair for an inky effect. “I’ve been trying to re-create gasoline or oil when it’s on the ground and it rains,” she said. “I find that when you take a dark purple and a dark green and layer them one on top of the other, you end up with this iridescent feeling.” This oily effect tends to reflect opal colors of dark gray, purples, green and black when done correctly. It’s amazing where artists get their inspiration from – why wouldn’t you want those colors on your hair??! Two positives from using the oil slick hair color technique:
1. Forget bleaching your hair like crazy.
We all know bleach is not the best thing for your hair. This applies to someone who has naturally dark hair. A lot of people are now more educated on with knowing they cannot have bleach blonde in one sitting at the salon and it does take a while because of the waiting period between lightening processes. With the oil slick technique, you can get this look at one visit in the salon and your hair will still be in a healthy state.
2. The color will last longer.
If you didn’t know, pastel colors do not last very long. One month at the most, and that’s if you are lucky. The cost and maintenance of pastels are a costly commitment. With oil slicking, this can be maintained with the normal 6-8 week visits at the salon.
So now we know why we should use the oil slick hair technique, let’s go over how to achieve it. We are going to need to lift the hair about two to three levels, depending on the natural level of the hair. By now, everyone has their own balayage technique that they swear by. Use your own balayage technique to pre-lighten the midshaft to the ends of the hair. Because this look is all cool tones, you will also want to darken the base to a dark cool brown or a cool black. Allow the color and lightener to process, the rinse, but do not condition it and only dry the hair about 90% of way. Here comes the fun part. All stylists are artists. Let your creative instincts take over! You can let the technique come from your heart and free hand the color by what you feel. You can also reference a picture and try to duplicate the pattern through that. There will be no right or wrong way you can place the fashion colors onto the hair.
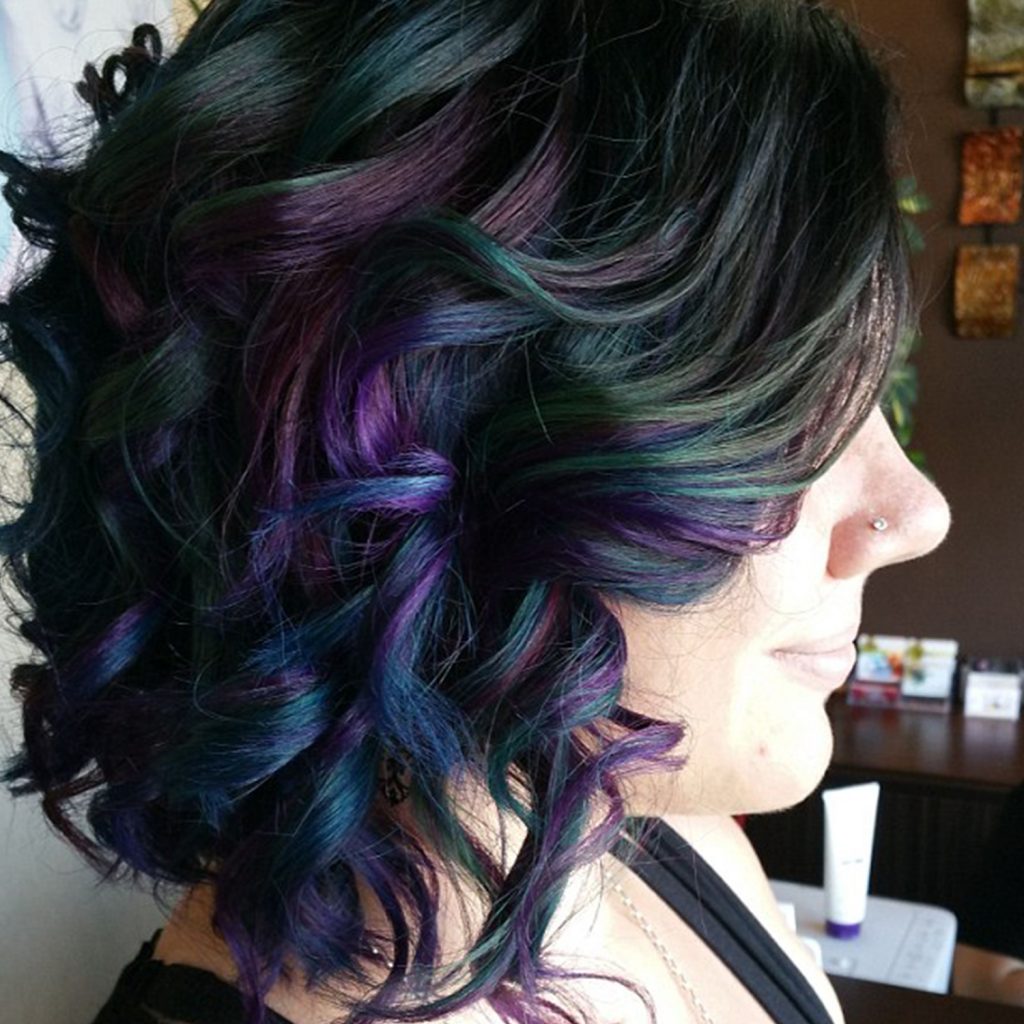
Here comes the fun part. All stylists are artists. Let your creative instincts take over. You can let the technique come from your heart and free hand the color by what you feel. You can also reference a picture (see below) and try to duplicate the pattern that way. There is no right or wrong way to place the fashion colors onto the hair. I would, however, suggest placing two different colors within the same parting. For example, use the purple at the top part of the pre-lightened hair and melt a green tone towards the ends of the hair strand. Allow each parting to lay on top of each other using foils. It will save time and product cost.
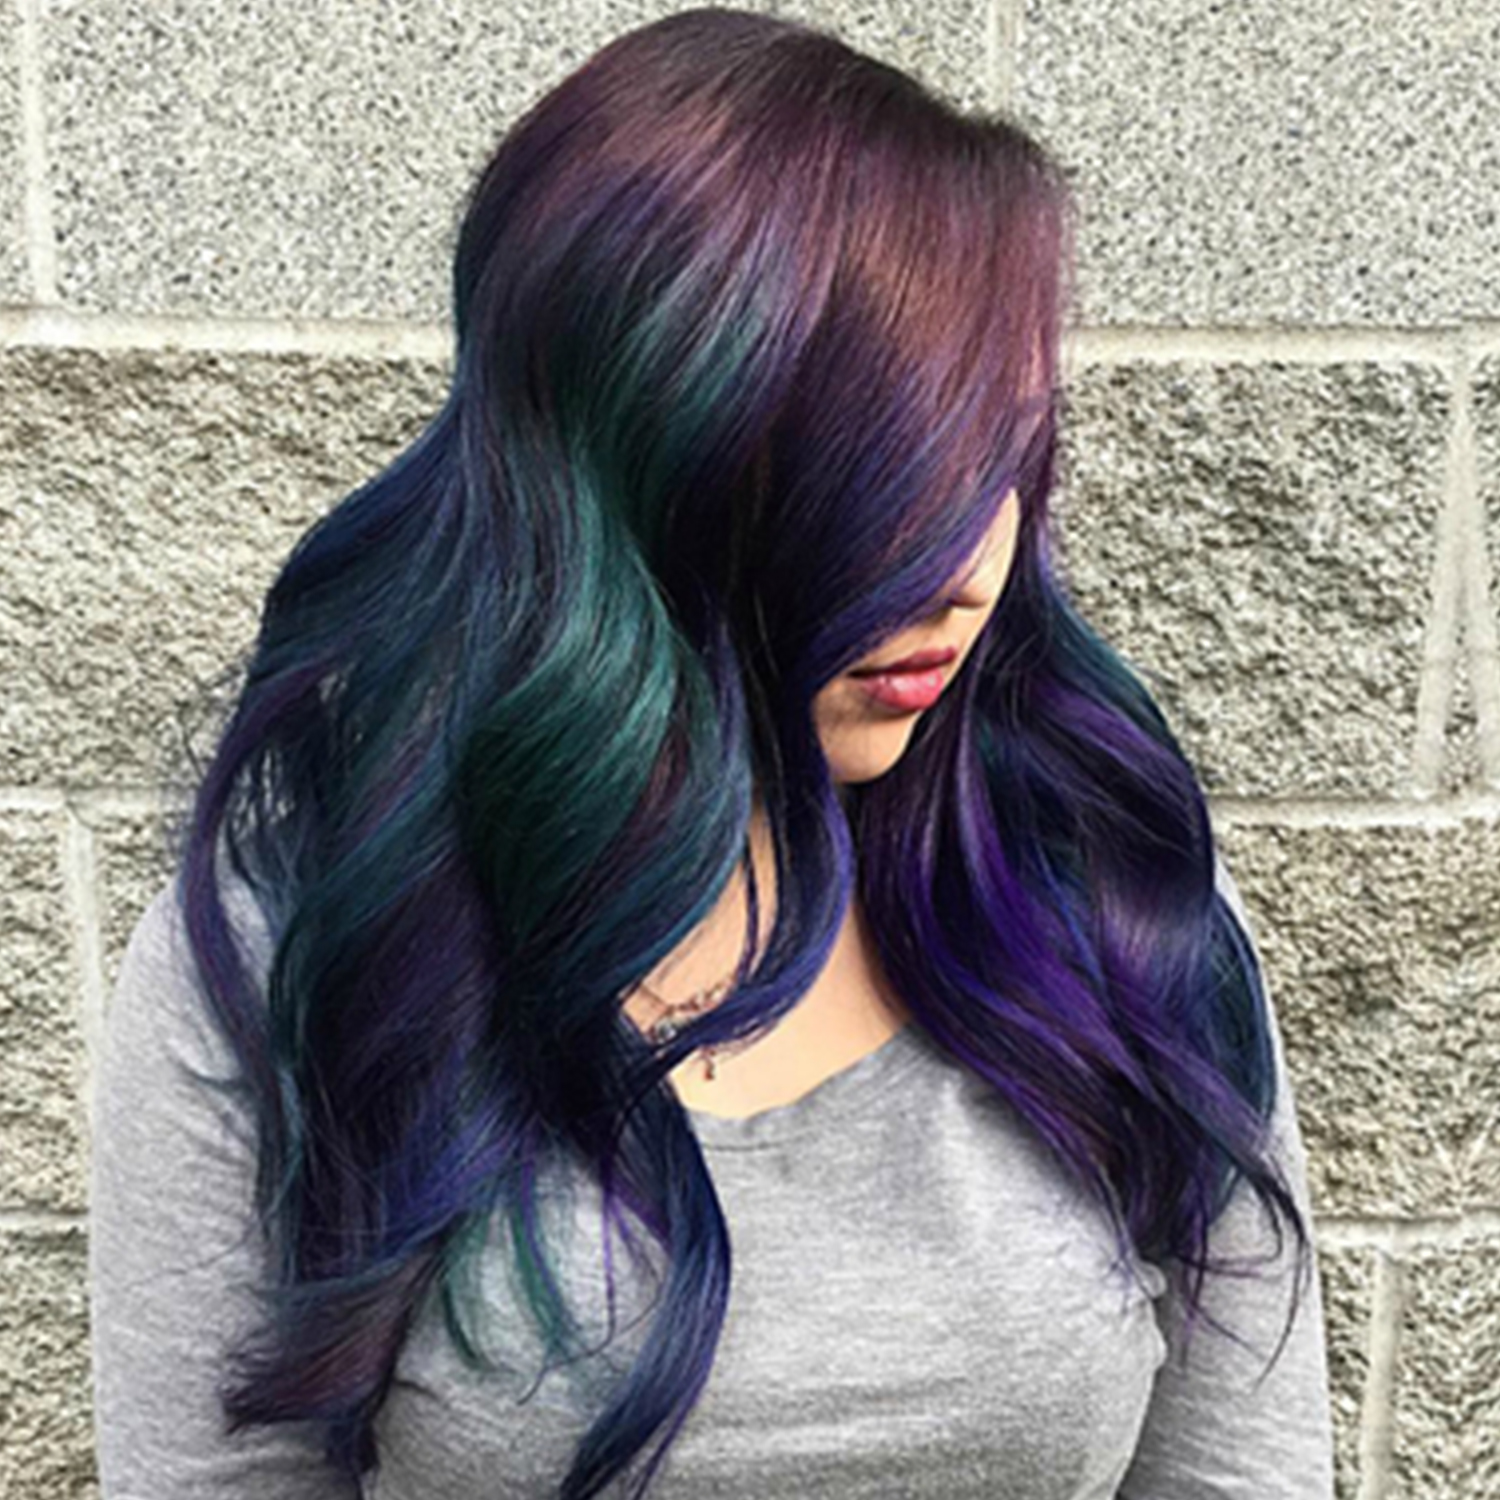
Get the Oil Slick Look
STEP 1: LIGHTEN
Prelighten hair with Balayage & baby lights. You can use anywhere from a 7 to 20 volume developer. Prelighten to a level 7 with a natural level 5.
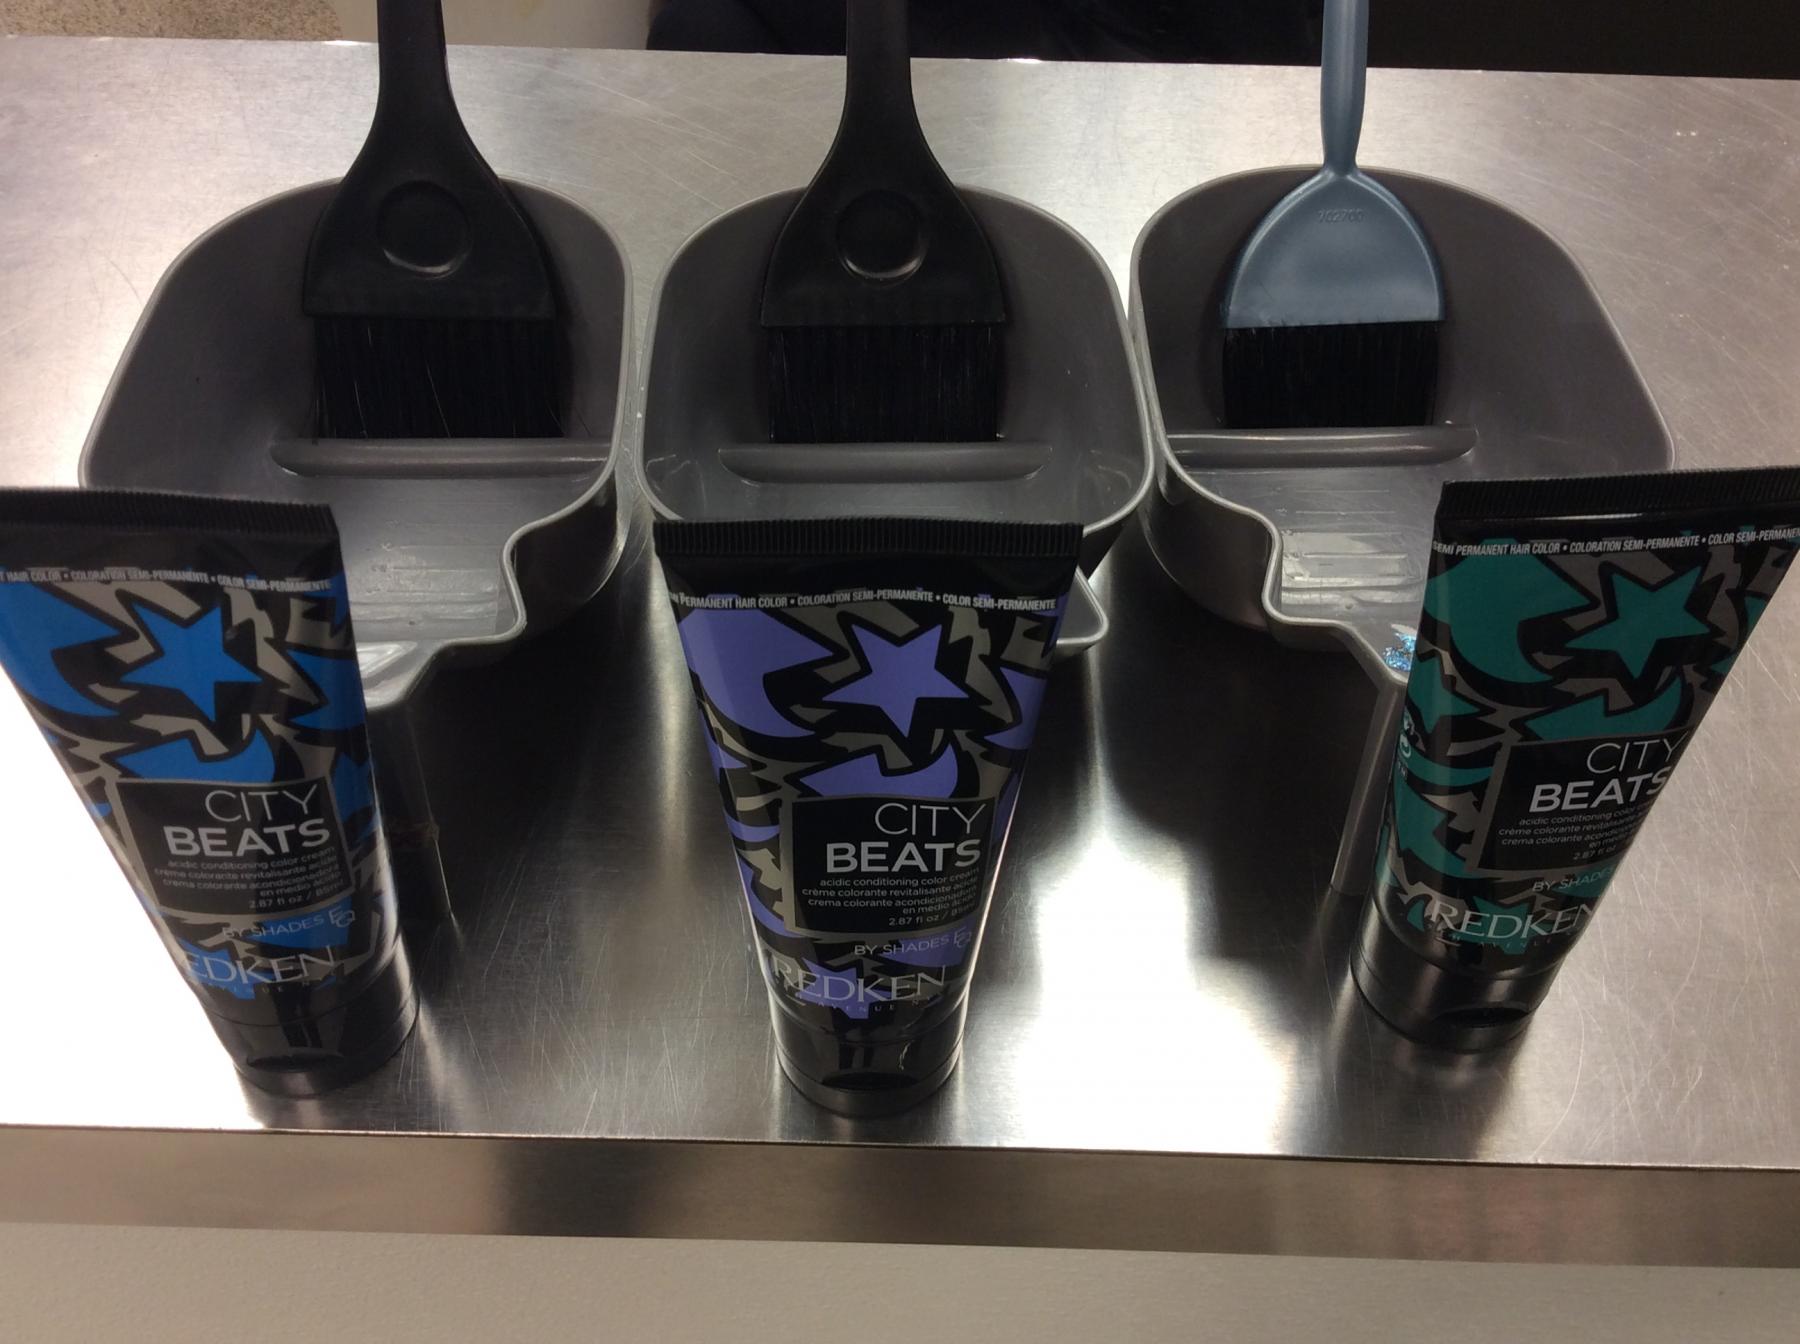
STEP 2: COLORS
Redken City Beats Time Square Teal, Brooklyn Blue, Indigo Skyline with 1/4 East Village Violet.
STEP 3: APPLICATION
This is more of a “feel” application. Start with 4 quads, take a parting within your section. Then choose any color you desire and start to apply it at the base to mid-strand. The next color then will be applied mid-strand to ends. Blend using your fingers or a blur brush. This technique is used through the head. Remember to alternate your colors throughout.
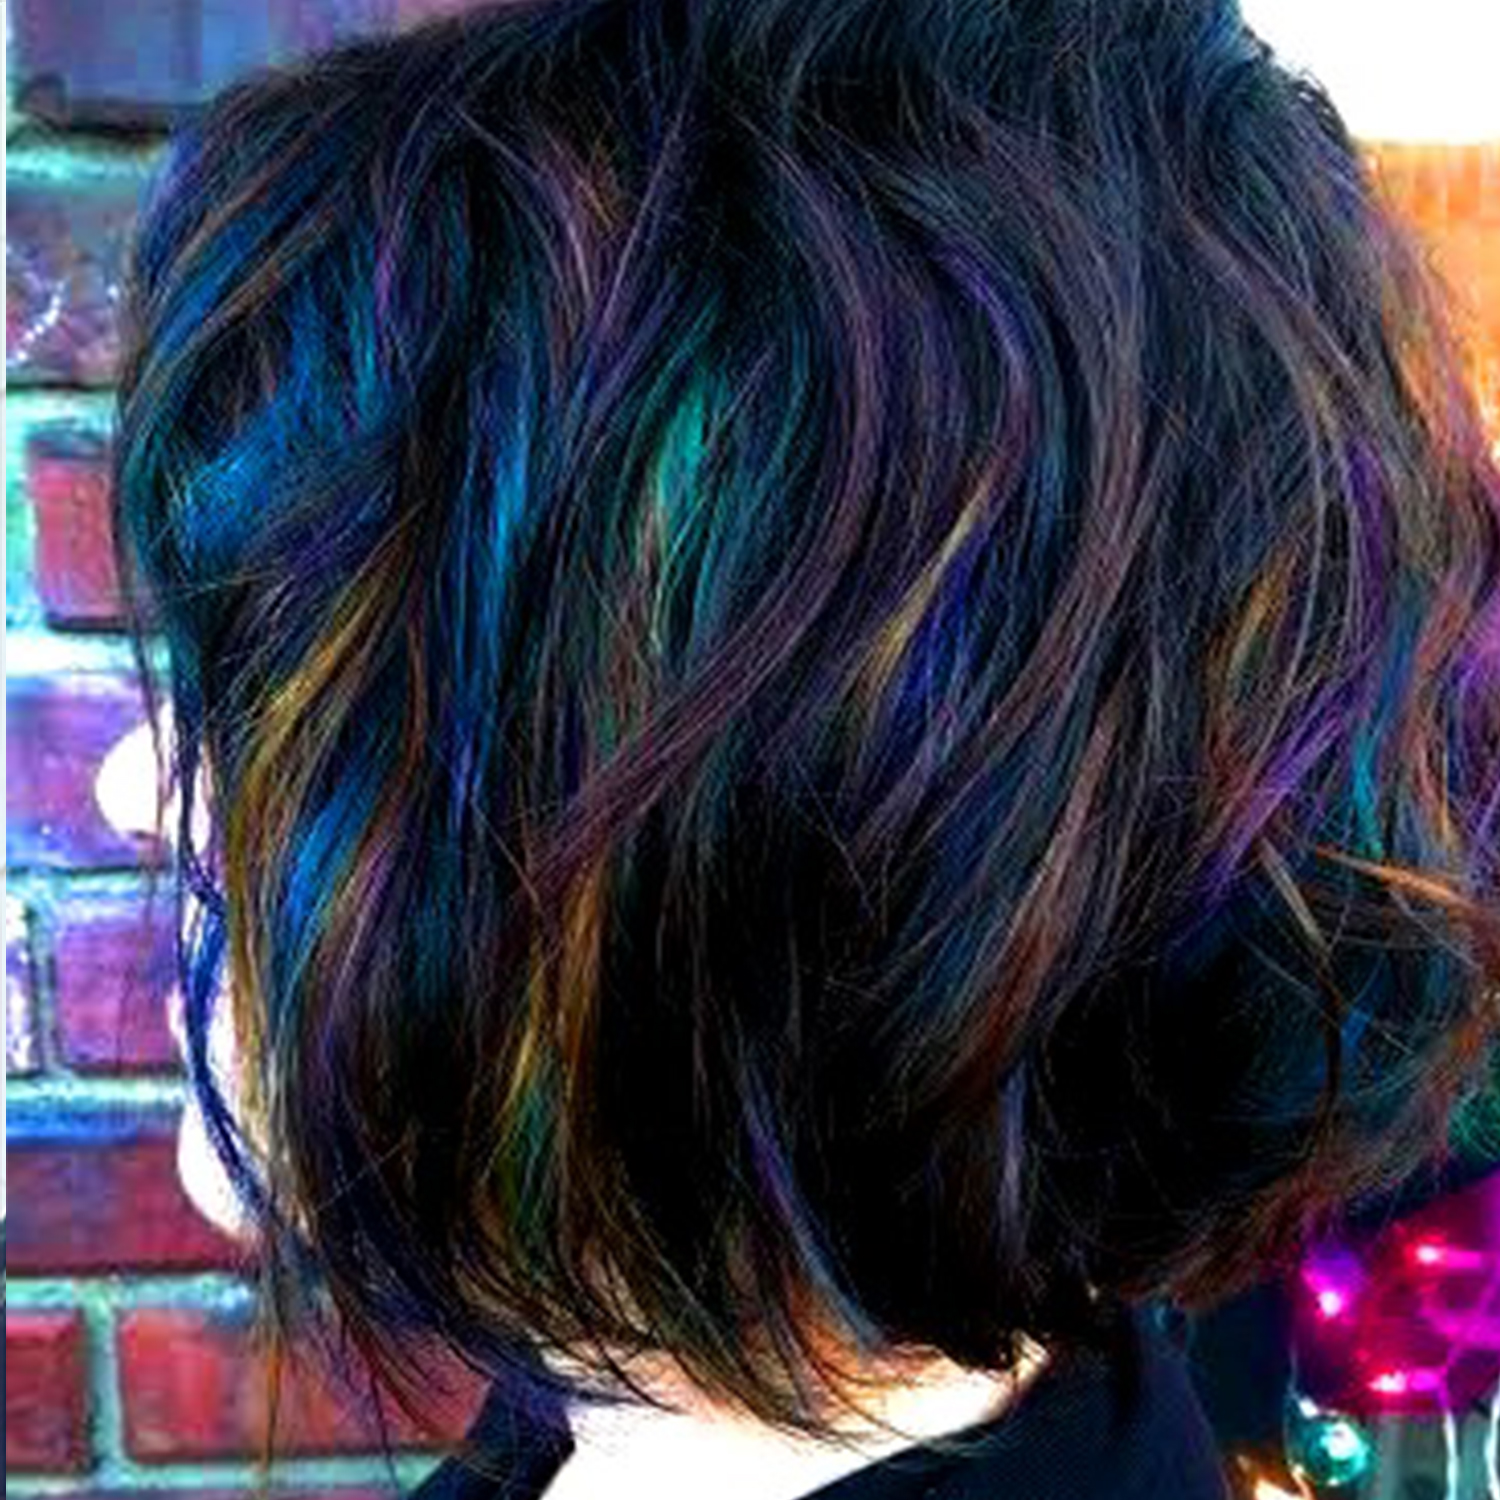
The best thing about this technique is that you are not limited to a basic application. You can think outside of the box, get as creative as you want, and use this look to put your own personal stamp on to this walking billboard. As for at home care for your guest, with any fashion color put onto the hair, suggest to your guest to shampoo their hair separately in cool to cold water. Always suggest a color extending shampoo and conditioner to prolong the color of the hair. And lastly, recommend your guest to come in for regular conditioning treatments to maintain the health of the hair. I really hope these techniques will help you with the brunette clientele who is looking for some fun colors in their hair. Most of all I cannot wait to see all the creativity that develops from your oil slicking abilities!
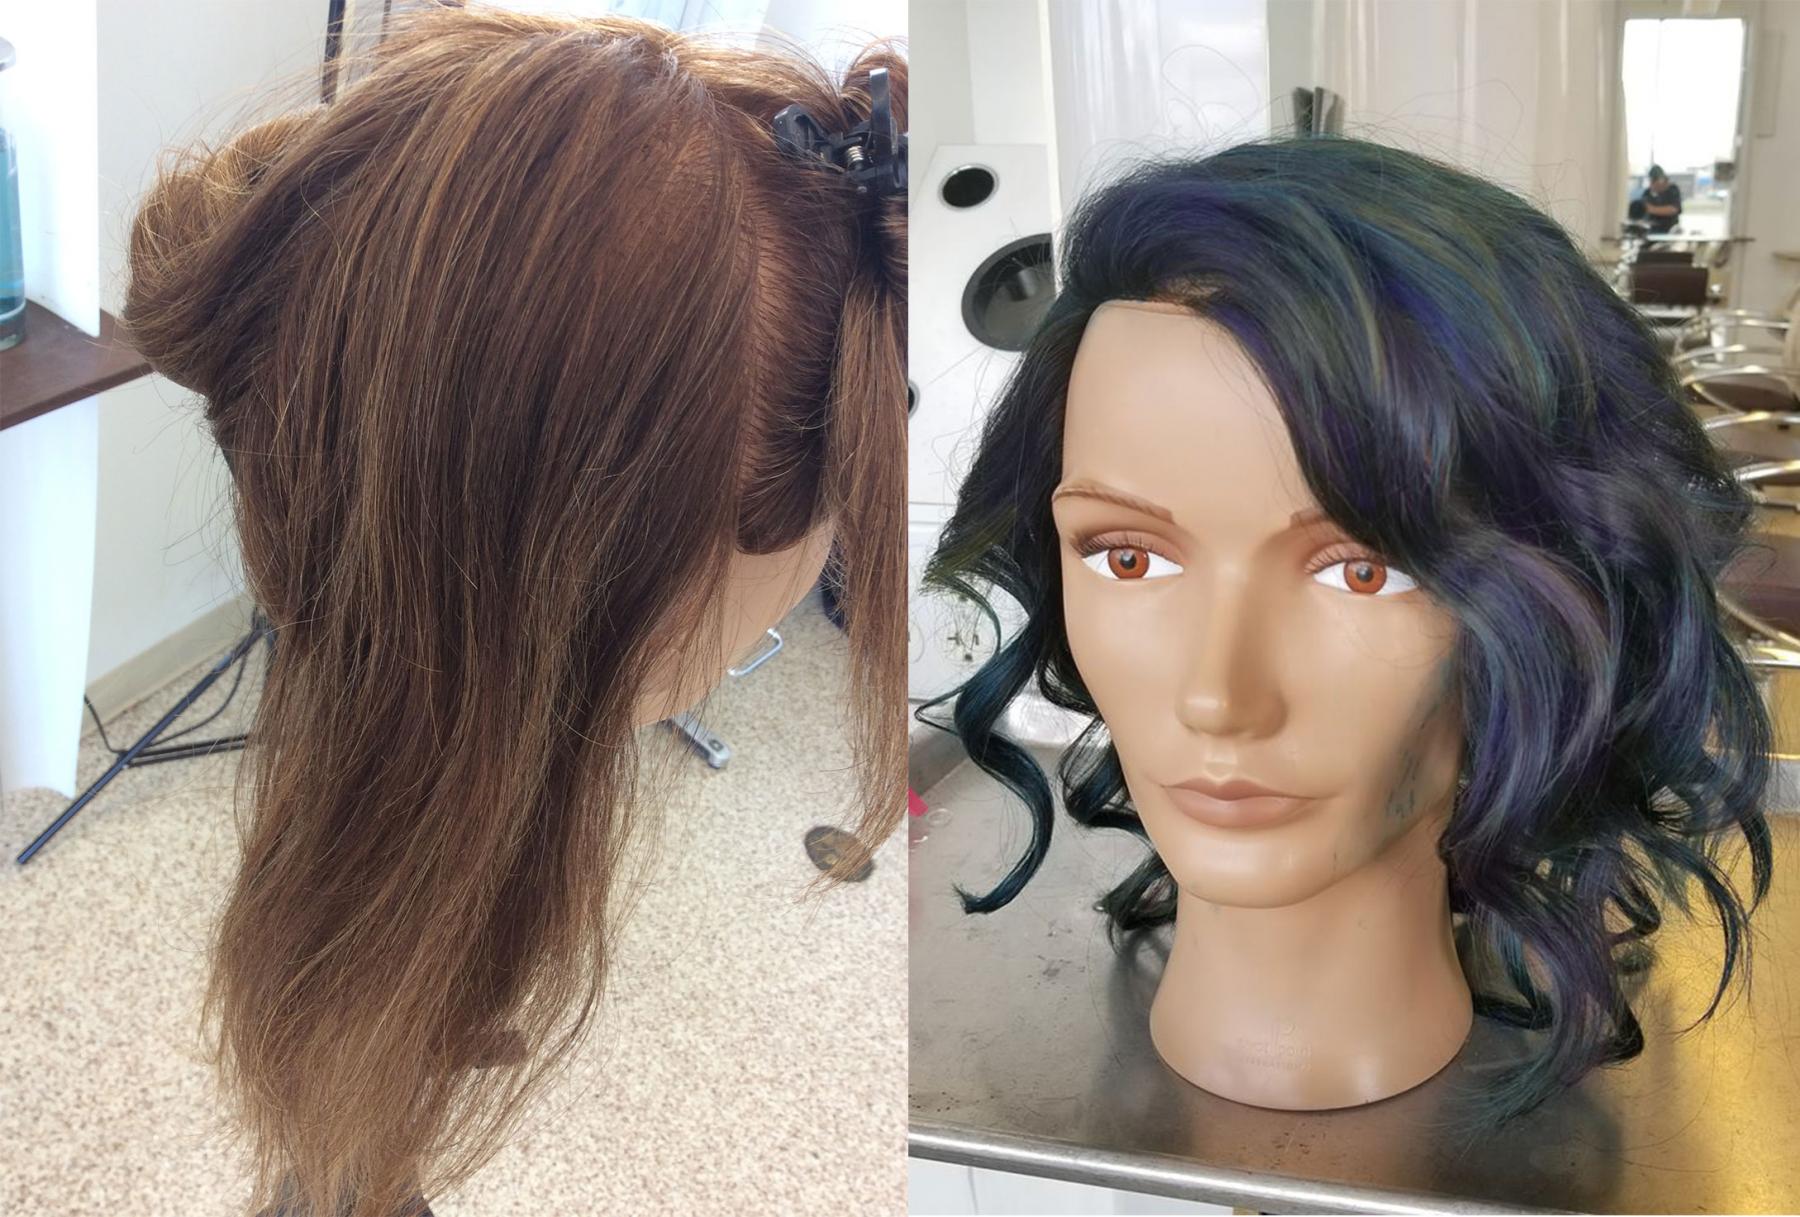
Balayage & babylights by Alexa Whitt. Redken Fashion colors by Angelina Garza.
As for at home care, as with any fashion color, I’d suggest shampooing the hair separately in cool to cold water. And always use (or suggest to the guest) a color extending shampoo and conditioner to prolong the color of the hair. And lastly, come in for regular conditioning treatments to maintain the health of the hair.
I really hope these techniques will help you with any of your brunette clientele looking to add a twist to their normal coloring routine. Most of all, I cannot WAIT to see all the creativity that develops from your new oil slick skills. Use the hashtag #tricociuniversity on Instagram and Twitter and show us what you’ve created. Or, create the next “oil slick” trend. The possibilities are endless.
Need some “slick” inspiration?